最近はAWSのLambdaなどの開発でPythonを使うことが増えてきましたが、まだまだ慣れていないこともあり、ちょっとしたコードを書くにも関数名がわからないので都度ネットで調べないといけないのがすごくストレスでした。
開発環境としてはLinux上のVimで開発しているため、Vim上で動作するPluginがないか調べたところ「jedi-vim」というよさそうなpluginがあったため導入してみました。まだあまり使い込んでいませんが、コード補完だけでなく定義元への移動やPydocの閲覧もでき動作も軽いので結構気に入りました。
今回はjedi-vimの導入方法について紹介したいと思います。
環境
OS:Amazon linux
Vim 7.4
導入手順
1.Neobundleのインストール
2.jedi-vimのインストール
3. 動作確認
Neobundleのインストール
以下のコマンドを実行
mkdir -p ~/.vim/bundle
git clone https://github.com/Shougo/neobundle.vim ~/.vim/bundle/neobundle.vim
.vimrcに以下の設定を追加
if 0 | endif

if has('vim_starting')
   if &compatible
      set nocompatible               " Be iMproved
   endif

  " Required:
  set runtimepath+=~/.vim/bundle/neobundle.vim/
endif

" Required:
call neobundle#begin(expand('~/.vim/bundle/'))

" Let NeoBundle manage NeoBundle
" Required:
NeoBundleFetch 'Shougo/neobundle.vim'

" My Bundles here:
" Refer to |:NeoBundle-examples|.
" Note: You don't set neobundle setting in .gvimrc!

call neobundle#end()

" Required:
filetype plugin indent on

" If there are uninstalled bundles found on startup,
" this will conveniently prompt you to install them.
NeoBundleCheck
Vimを起動して以下を実行
:NeoBundleInstall
NeoBundleがインストールされます
jedi-vimのインストール
以下のコマンドを実行
cd ~/.vim/bundle/
git clone --recursive https://github.com/davidhalter/jedi-vim.git
.vimrcに以下の設定を追加
" Jedi for python
NeoBundleLazy "davidhalter/jedi-vim", {
     "autoload": { "filetypes": [ "python", "python3", "djangohtml"] }}

if ! empty(neobundle#get("jedi-vim"))
  let g:jedi#auto_initialization = 1
  let g:jedi#auto_vim_configuration = 1

  nnoremap [jedi]
  xnoremap [jedi]
  nmap j [jedi]
  xmap j [jedi]

  let g:jedi#completions_command = ""    # 補完キーの設定この場合はCtrl+Space
  let g:jedi#goto_assignments_command = ""   # 変数の宣言場所へジャンプ(Ctrl + g)
  let g:jedi#goto_definitions_command = ""   # クラス、関数定義にジャンプ(Gtrl + d)
  let g:jedi#documentation_command = ""      # Pydocを表示(Ctrl + k)
  let g:jedi#rename_command = "[jedi]r"
  let g:jedi#usages_command = "[jedi]n"
  let g:jedi#popup_select_first = 0
  let g:jedi#popup_on_dot = 0

  autocmd FileType python setlocal completeopt-=preview

  " for w/ neocomplete
    if ! empty(neobundle#get("neocomplete.vim"))
        autocmd FileType python setlocal omnifunc=jedi#completions
        let g:jedi#completions_enabled = 0
        let g:jedi#auto_vim_configuration = 0
        let g:neocomplete#force_omni_input_patterns.python =
                         '%([^. t].|^s*@|^s*froms.+import |^s*from |^s*import )w*'
    endif
endif
動作確認
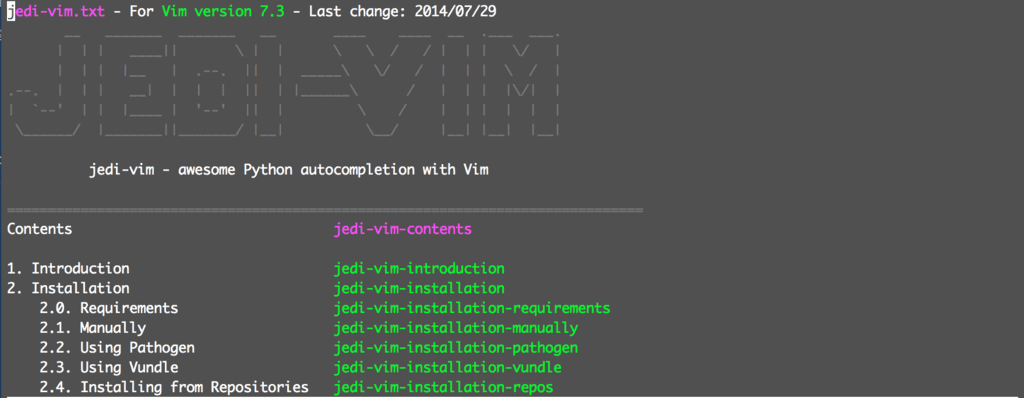
vimを起動して「:help jedi」とタイプし下記画面が表示されれば正常にインストールされていることが確認できます。
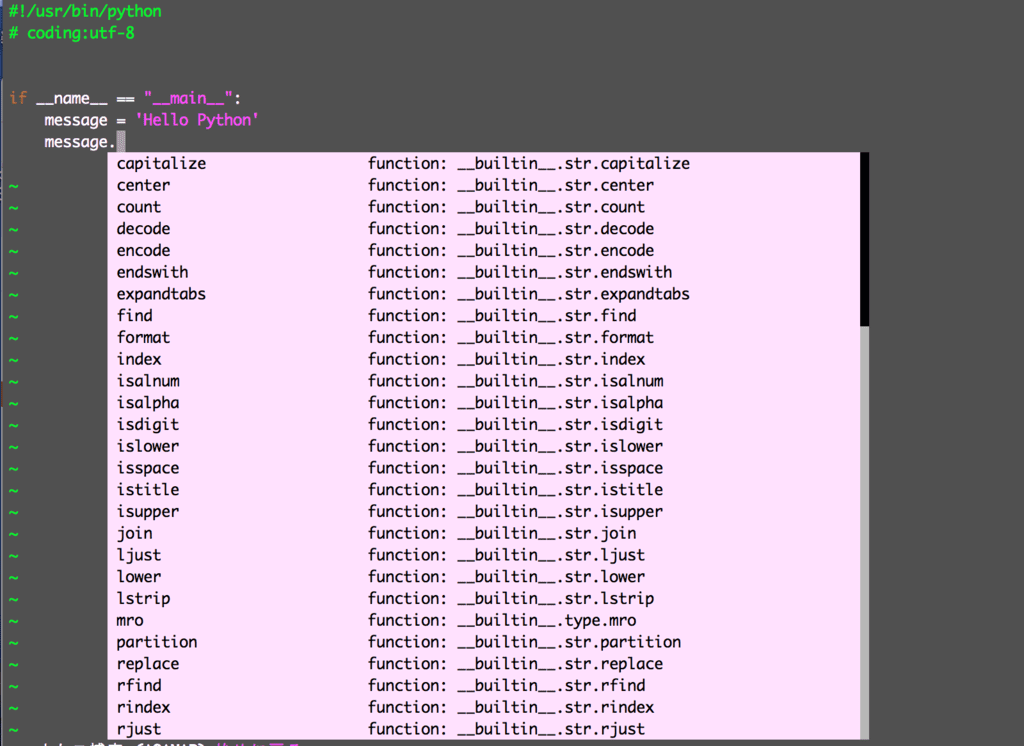
まずはコード補完(今回の設定ではCtrl+Space)
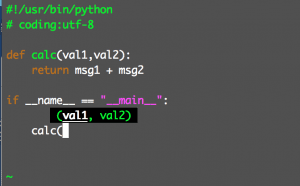
関数の引数も表示してくれます
関数の定義元にジャンプ。
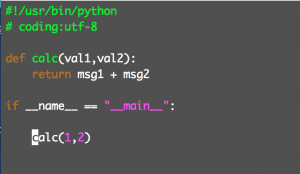
↓↓↓
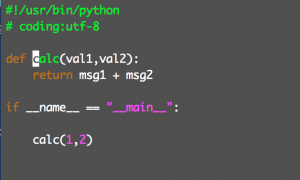
他にも色々機能があるので、もっと色々知りたい方はヘルプを見てみてください。
IDEを使うほどでもな~と思っている方にはピッタリかと思います。


