これはcloudpack あら便利カレンダー 2018の記事です。
概要
Cloud Machine Learning Engineを利用するための環境設定とサンプル実行までの手順となります。
下記を参考にしようとしたのですが、バージョンが上がったり、ドキュメント内容にも変更があったようなので、公式のドキュメントを参考に進めていきます。
(2018/07/30現在)
参考にしようとした)
【Google Cloud Platform】初めてやるクラウドでの機械学習①
https://qiita.com/yujiG/items/36a31d0795b2c2709476
参考)
TensorFlow 用 Cloud ML Engine
https://cloud.google.com/ml-engine/docs/tensorflow/getting-started-training-prediction?hl=ja
シェルはfishとbashの2パターンで記載しています。
手順
Google Cloud SDKのインストール
参考)
Google Cloud SDK ドキュメント
https://cloud.google.com/sdk/docs/?hl=ja
fish、bash共通
> brew cask install google-cloud-sdk(略)==> Linking Binary 'bq' to '/usr/local/bin/bq'.==> Linking Binary 'docker-credential-gcloud' to '/usr/local/bin/docker-credential-gcloud'.==> Linking Binary 'gcloud' to '/usr/local/bin/gcloud'.==> Linking Binary 'git-credential-gcloud.sh' to '/usr/local/bin/git-credential-gcloud'.==> Linking Binary 'gsutil' to '/usr/local/bin/gsutil'.? google-cloud-sdk was successfully installed!
インストールされたか確認
fish、bash共通
> gcloud --version
Google Cloud SDK 209.0.0
bq 2.0.34
core 2018.07.16
gsutil 4.33
GCPの認証情報の設定
参考)
認証の開始
https://cloud.google.com/docs/authentication/getting-started
サービス アカウントを作成してダウンロードされたjsonファイルのパスを環境変数に設定する。
fish
> echo 'set -x GOOGLE_APPLICATION_CREDENTIALS xxx.json' >> ~/.config/fish/config.fish
bash
> echo 'export GOOGLE_APPLICATION_CREDENTIALS="xxx.json"' >> ~/.bash_profile
gcloudの初期化。それぞれの環境に合わせて設問に答える。
fish、bash共通
> gcloud init
(略)
Settings from your current configuration [default] are:
(略)
Pick configuration to use:
 [1] Re-initialize this configuration [default] with new settings
 [2] Create a new configuration
(略)
Enter configuration name. Names start with a lower case letter and
contain only lower case letters a-z, digits 0-9, and hyphens '-':
(略)
You can skip diagnostics next time by using the following flag:
  gcloud init --skip-diagnostics
(略)
Network diagnostic detects and fixes local network connection issues.
Checking network connection...done.
Reachability Check passed.
Network diagnostic (1/1 checks) passed.
(略)
Choose the account you would like to use to perform operations for
this configuration:
(略)
(略)
Pick cloud project to use:
(略)
Enter a Project ID. Note that a Project ID CANNOT be changed later.
Project IDs must be 6-30 characters (lowercase ASCII, digits, or
hyphens) in length and start with a lowercase letter. xxxx
Your current project has been set to:
(略)
Not setting default zone/region (this feature makes it easier to use
[gcloud compute] by setting an appropriate default value for the
--zone and --region flag).
(略)
Created a default .boto configuration file at [/Users/xxx/.boto]. See this file and
[https://cloud.google.com/storage/docs/gsutil/commands/config] for more
information about configuring Google Cloud Storage.
Your Google Cloud SDK is configured and ready to use!
(略)
* Commands that require authentication will use xxx by default
* Commands will reference project `xxxx` by default
Run `gcloud help config` to learn how to change individual settings
(略)
This gcloud configuration is called [xxx]. You can create additional configurations if you work with multiple accounts and/or projects.
Run `gcloud topic configurations` to learn more.

Some things to try next:

* Run `gcloud --help` to see the Cloud Platform services you can interact with. And run `gcloud help COMMAND` to get help on any gcloud command.
* Run `gcloud topic -h` to learn about advanced features of the SDK like arg files and output formatting
Python環境構築
Pythonで仮想環境を作成してそこで実行していきます。
ディレクトリは任意で作成してください。
fish、bash共通
> mkdir 任意のディレクトリ
> cd 任意のディレクトリ
> python --version
Python 3.6.6

# 仮想環境の作成
> python -m venv gcp-ml
> . gcp-ml/bin/activate
# fishの場合
> . gcp-ml/bin/activate.fish
Google API Client for pythonのインストール
fish、bash共通
> pip install --upgrade google-api-python-client
Collecting google-api-python-client
(略)
Successfully installed cachetools-2.1.0 google-api-python-client-1.7.4 google-auth-1.5.0 google-auth-httplib2-0.0.3 httplib2-0.11.3 pyasn1-0.4.4 pyasn1-modules-0.2.2 rsa-3.4.2 six-1.11.0 uritemplate-3.0.0
TensorFlowのインストール
fish、bash共通
> pip install --upgrade tensorflow
(略)
Successfully installed absl-py-0.3.0 astor-0.7.1 gast-0.2.0 grpcio-1.13.0 markdown-2.6.11 numpy-1.15.0 protobuf-3.6.0 tensorboard-1.9.0 tensorflow-1.9.0 termcolor-1.1.0 werkzeug-0.14.1 wheel-0.31.1
TensorFlowの動作確認
TensorFlowがインストールされて実行できるか確認します。
fish、bash共通
> python
Python 3.6.6 (default, Jul 27 2018, 12:00:42)
[GCC 4.2.1 Compatible Apple LLVM 9.0.0 (clang-900.0.39.2)] on darwin
Type "help", "copyright", "credits" or "license" for more information.

>>> import tensorflow as tf
>>> hello = tf.constant('Hello, TensorFlow!')
>>> sess = tf.Session()

# とりあえず無視でOK
2018-07-30 16:15:50.635109: I tensorflow/core/platform/cpu_feature_guard.cc:141] Your CPU supports instructions that this TensorFlow binarywas not compiled to use: AVX2 FMA

# printして出力されたらOK
>>> print(sess.run(hello))
b'Hello, TensorFlow!'
>>> exit()
サンプルの実行
さて、ここからがいよいよCloud Machine Learning Engineのサンプル実行となります。(長かった)
サンプルプロジェクトとテストデータのダウンロード
fish、bash共通
> git clone https://github.com/GoogleCloudPlatform/cloudml-samples.git
> cd cloudml-samples/census/estimator/

# テストデータのダウンロード
> mkdir data
# gs://から始まるパスはダブルクオーテーションで括らないとエラーになった(fish
> gsutil -m cp "gs://cloud-samples-data/ml-engine/census/data/*" data/
パスの設定
fish
> set -x TRAIN_DATA (pwd)/data/adult.data.csv
> set -x EVAL_DATA (pwd)/data/adult.test.csv
> set -x MODEL_DIR output
bash
> export TRAIN_DATA=$(pwd)/data/adult.data.csv
> export EVAL_DATA=$(pwd)/data/adult.test.csv
> export MODEL_DIR=output
ローカルでトレーニングの実行
fish、bash共通
> gcloud ml-engine local train \
    --module-name trainer.task \
    --package-path trainer/ \
    --job-dir $MODEL_DIR \
    -- \
    --train-files $TRAIN_DATA \
    --eval-files $EVAL_DATA \
    --train-steps 1000 \
    --eval-steps 100
INFO:tensorflow:TF_CONFIG environment variable: {'environment': 'cloud', 'cluster': {}, 'job': {'args': ['--train-files', '/任意のディレクトリ/gcp/cloudml-samples/census/estimator/data/adult.data.csv', '--eval-files', '/任意のディレクトリ/gcp/cloudml-samples/census/estimator/data/adult.test.csv', '--train-steps', '1000', '--eval-steps', '100', '--job-dir', 'output'], 'job_name': 'trainer.task'}, 'task': {}}
model dir output
(略)
WARNING:tensorflow:Export includes no default signature!
INFO:tensorflow:Restoring parameters from output/model.ckpt-1000
INFO:tensorflow:Assets added to graph.
INFO:tensorflow:No assets to write.
INFO:tensorflow:SavedModel written to: output/export/census/temp-b'1532936573'/saved_model.pb
トレーニング結果の確認
fish、bash共通
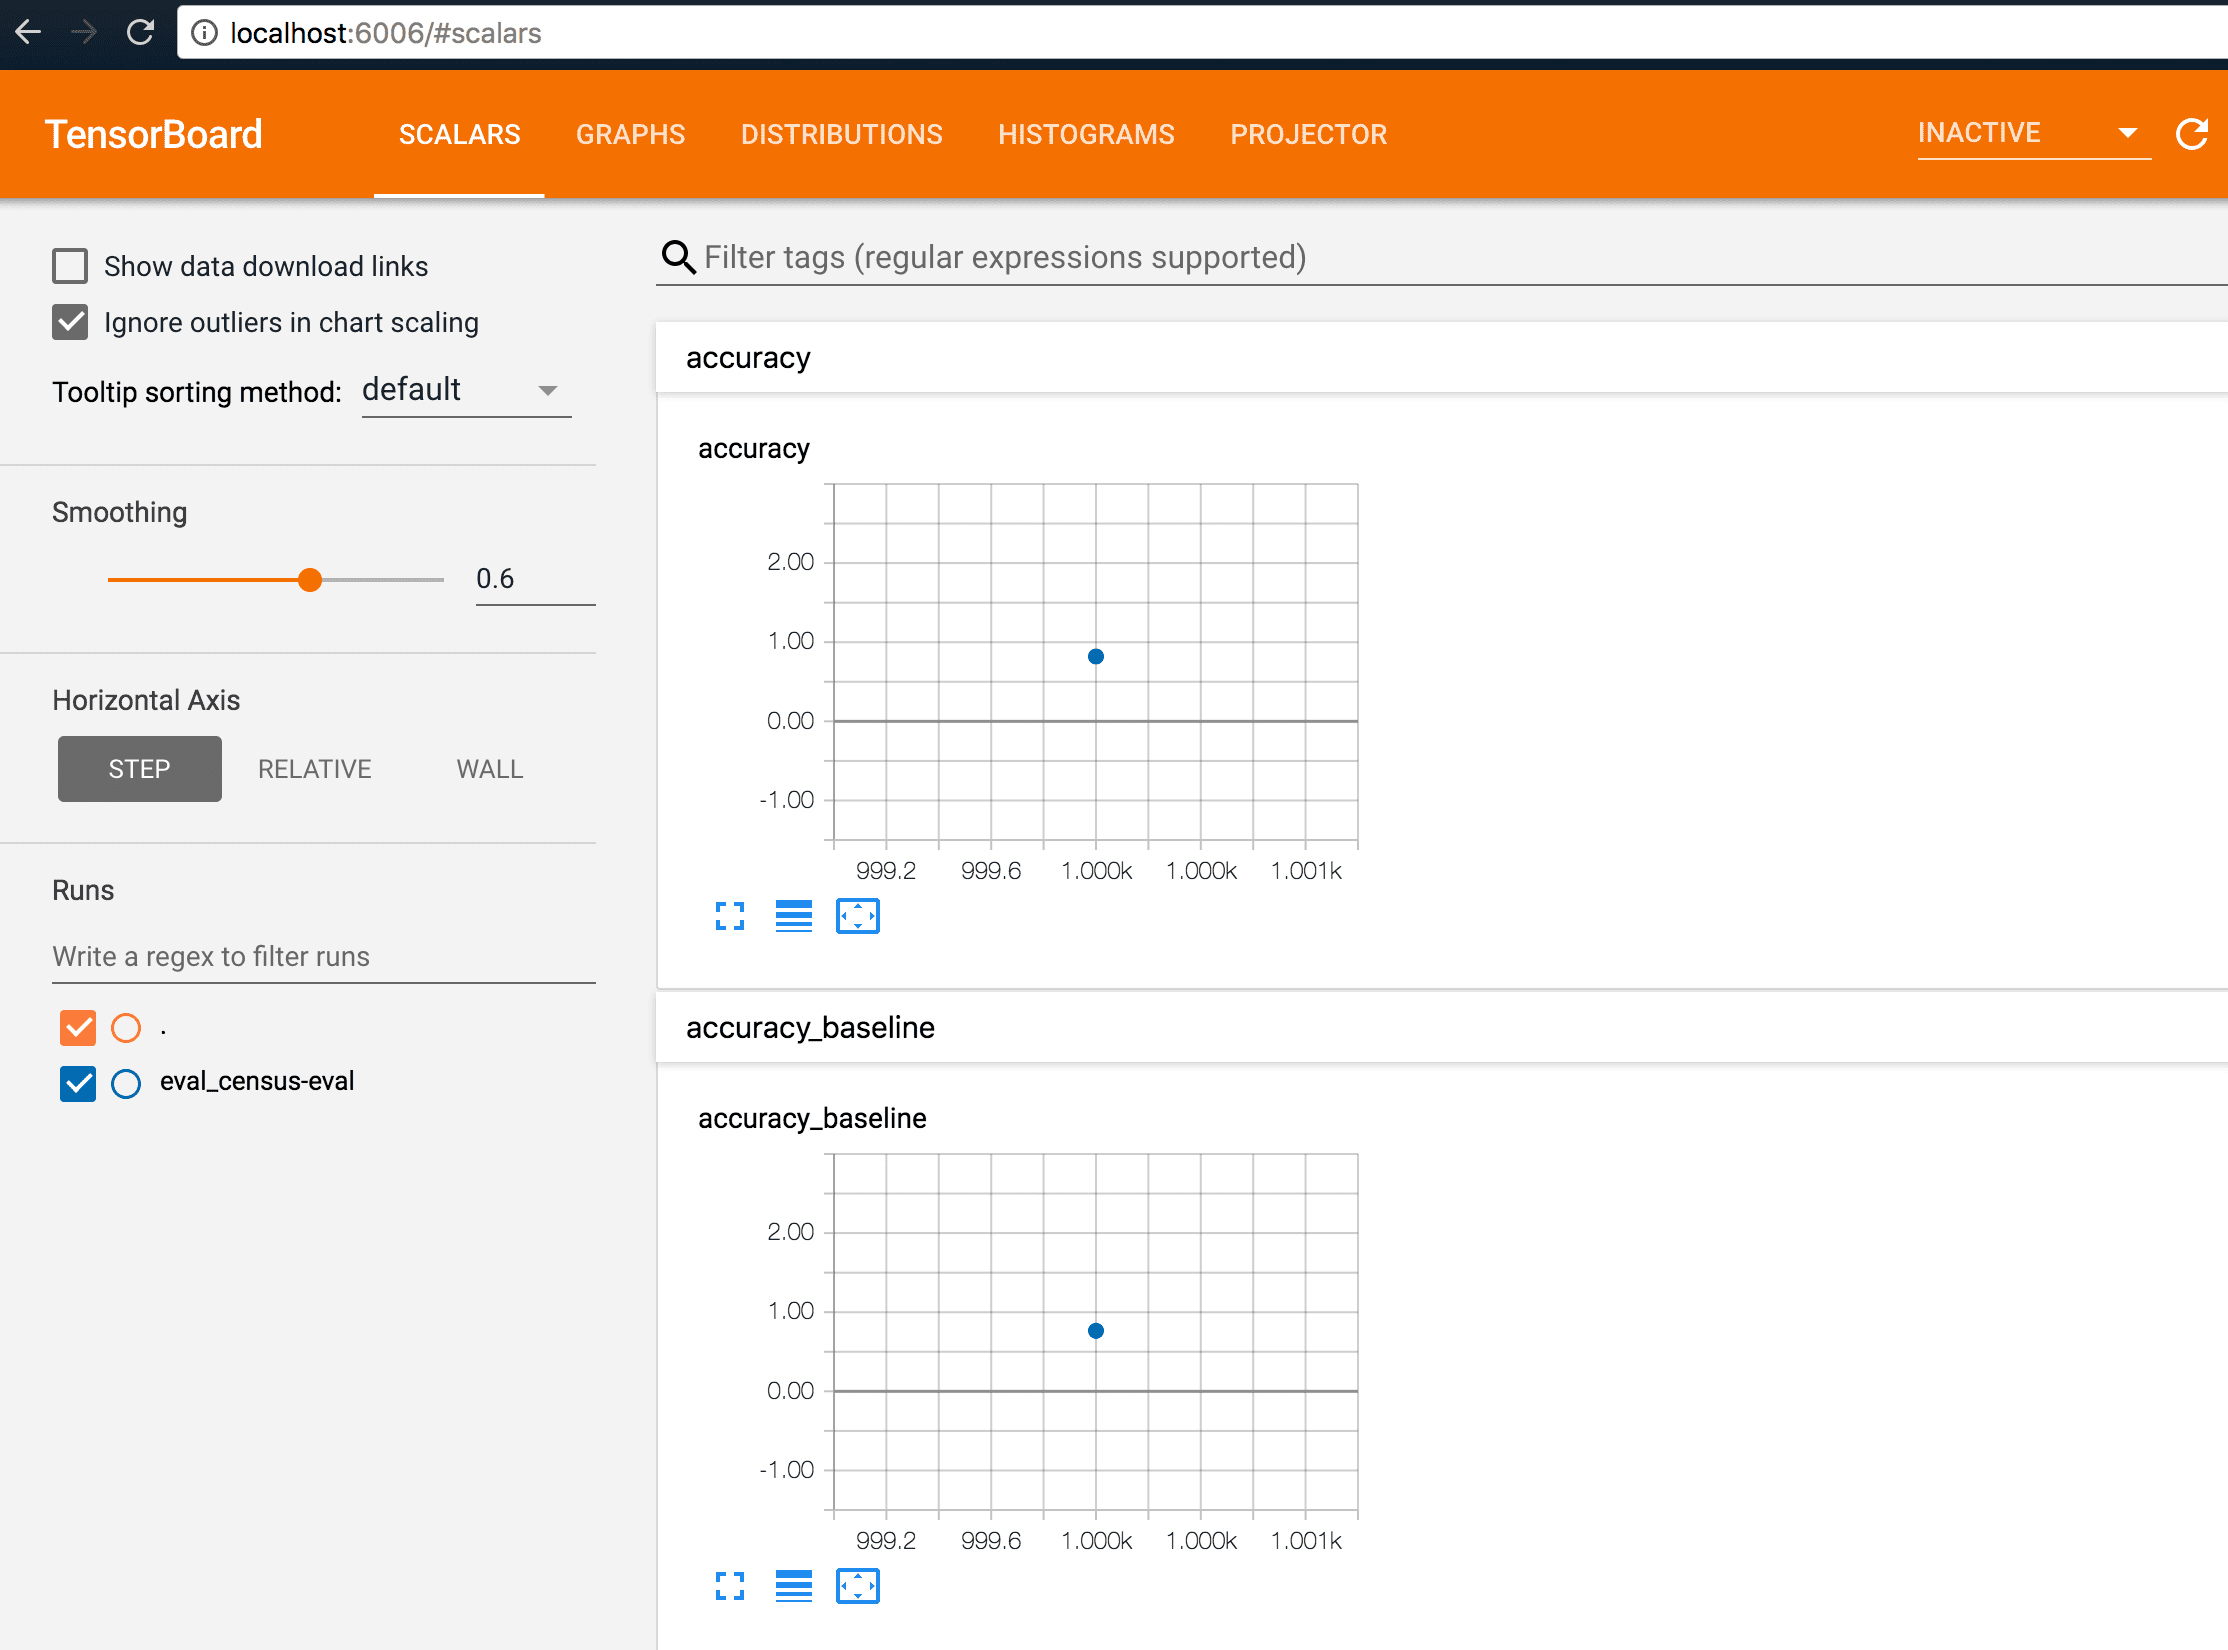
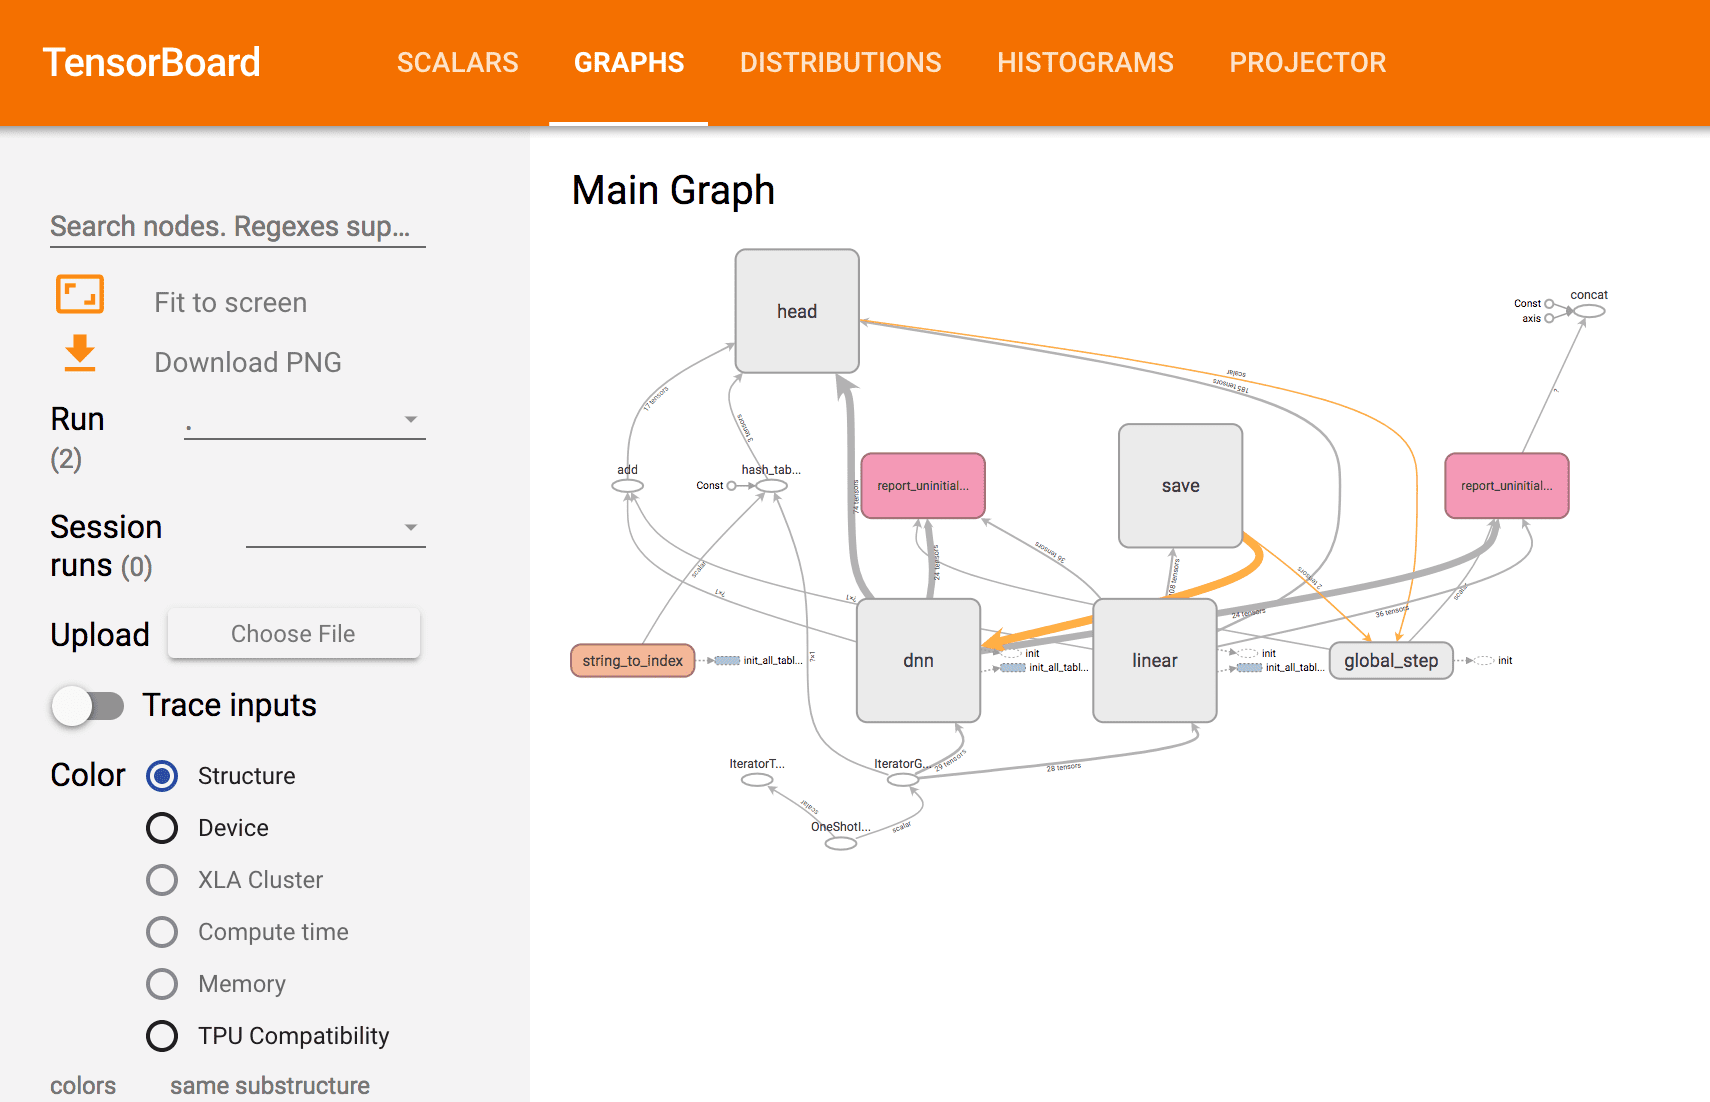
> tensorboard --logdir=$MODEL_DIR
TensorBoard 1.9.0 at http://localhost:6006 (Press CTRL+C to quit)
ブラウザでhttp://localhost:6006にアクセス。
まだよくわかってませんが、トレーニングできた?みたいです(初心者
クラウド上で実行する
ここからは実際にCloud ML Engine上で実行する手順となります。
Cloud Storage バケットの作成
バケット名はCloud Storageのすべてのバケット全体で重複しないようにする必要があります。
リージョンはCloud ML Engineサービスの利用可能なリージョンを指定しましょう。
ここでは[us-central1]を指定しています。
参考)
Cloud ML Engine リージョン
https://cloud.google.com/ml-engine/docs/regions?hl=ja
fish
> set -x BUCKET_NAME 任意のバケット名
> set -x REGION us-central1
bash
> export BUCKET_NAME="任意のバケット名"
> export REGION=us-central1
テストデータのアップロード
ローカルでの実行で利用したですとデータをアップロードします。
fish、bash共通
> gsutil mb -l $REGION gs://$BUCKET_NAME
Creating gs://任意のバケット名/...
> gsutil cp -r data gs://$BUCKET_NAME/data
Copying file://data/adult.data.csv [Content-Type=text/csv]...
Copying file://data/adult.test.csv [Content-Type=text/csv]...
/ [2 files][  5.7 MiB/  5.7 MiB]
Operation completed over 2 objects/5.7 MiB.
テスト用のJSONファイルも利用するようなので、アップロードします。
fish、bash共通
> gsutil cp ../test.json gs://$BUCKET_NAME/data/test.json
Copying file://../test.json [Content-Type=application/json]...
- [1 files][  314.0 B/  314.0 B]
Operation completed over 1 objects/314.0 B.
パスの設定
JOB_NAMEは任意で指定してください。
JOB_NAMEとOUTPUT_PATHはトレーニングごとにリネームする必要があるため、気をつけましょう(1敗)
fish
> set -x TRAIN_DATA gs://$BUCKET_NAME/data/adult.data.csv
> set -x EVAL_DATA gs://$BUCKET_NAME/data/adult.test.csv
> set -x TEST_JSON gs://$BUCKET_NAME/data/test.json
> set -x JOB_NAME census_single_1
> set -x OUTPUT_PATH gs://$BUCKET_NAME/$JOB_NAME
bash
> export TRAIN_DATA=gs://$BUCKET_NAME/data/adult.data.csv
> export EVAL_DATA=gs://$BUCKET_NAME/data/adult.test.csv
> export TEST_JSON=gs://$BUCKET_NAME/data/test.json
> export JOB_NAME=census_single_1
> export OUTPUT_PATH=gs://$BUCKET_NAME/$JOB_NAME
クラウド上でトレーニングの実行
Cloud ML EngineはデフォルトでPython 2.7で実行するそうなので、Python 3.5を利用するように変更します。
参考)
Cloud ML Engine のバージョニング
トレーニング ジョブの Python バージョンを指定するには
https://cloud.google.com/ml-engine/docs/tensorflow/versioning?hl=ja#set-python-version-training
fish、bash共通
> touch config.yaml
> vi config.yaml
+trainingInput:
+  pythonVersion: "3.5"
トレーニングの実行
fish、bash共通
> gcloud ml-engine jobs submit training $JOB_NAME \
    --job-dir $OUTPUT_PATH \
    --config config.yaml \
    --runtime-version 1.8 \
    --module-name trainer.task \
    --package-path trainer/ \
    --region $REGION \
    -- \
    --train-files $TRAIN_DATA \
    --eval-files $EVAL_DATA \
    --train-steps 1000 \
    --eval-steps 100 \
    --verbosity DEBUG
Job [census_single_1] submitted successfully.
Your job is still active. You may view the status of your job with the command

  $ gcloud ml-engine jobs describe census_single_1

or continue streaming the logs with the command

  $ gcloud ml-engine jobs stream-logs census_single_1
jobId: census_single_1
state: QUEUED
はい。
state: QUEUEDとなっているので、ここではまだトレーニング完了していないみたいです。
ログなどは上記にもあるようにコマンドで確認できるようです。
fish、bash共通
# ジョブ詳細の確認
> gcloud ml-engine jobs describe census_single_1
# 実行ログの確認
> gcloud ml-engine jobs stream-logs census_single_1
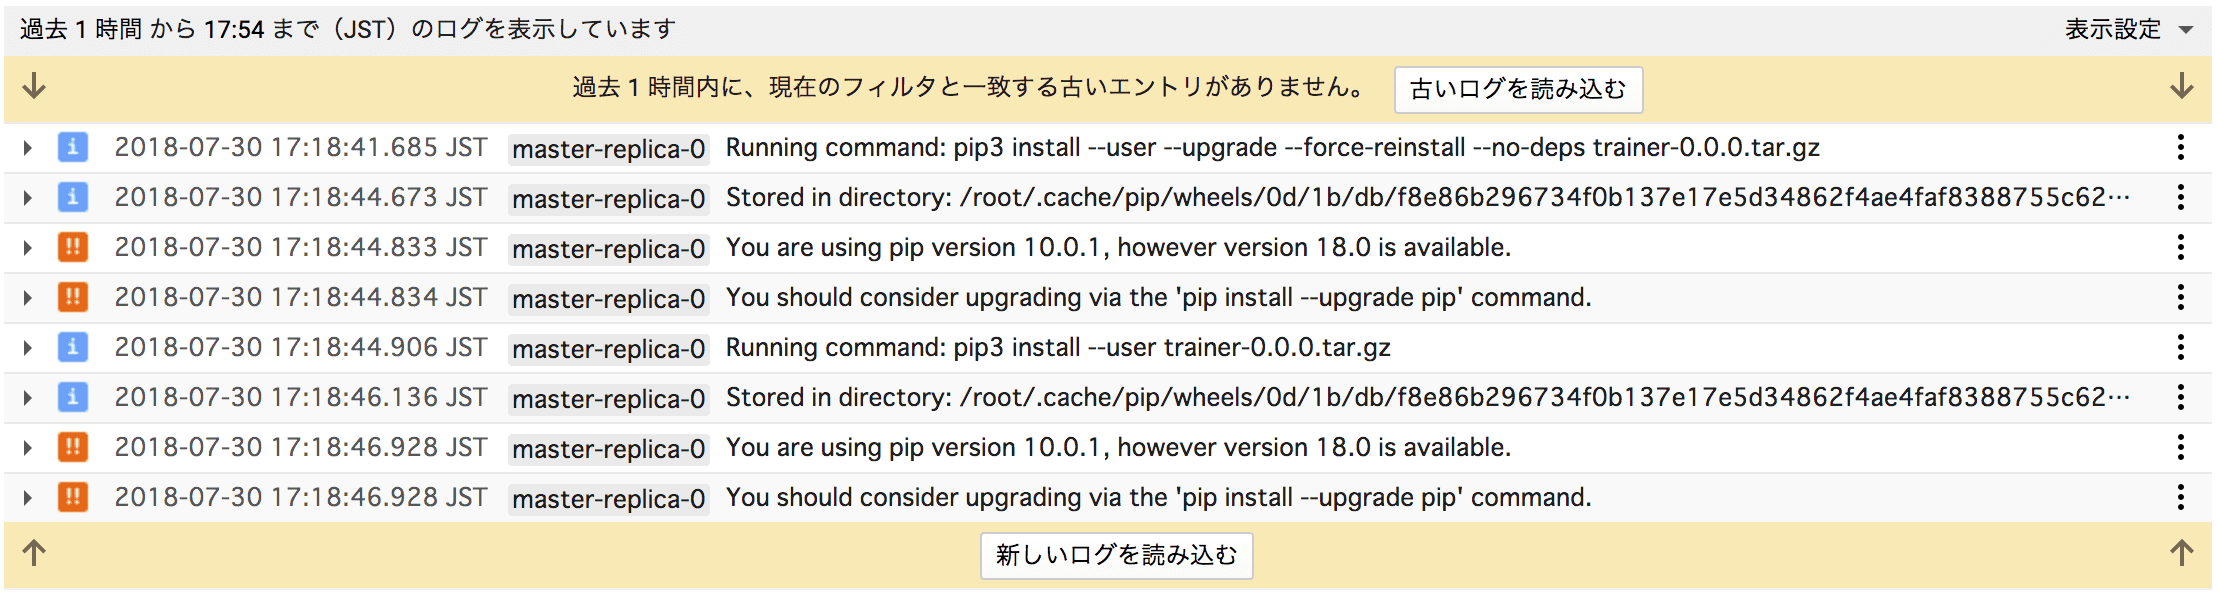
GCPコンソールのログビューアからもログの確認ができます。
ここではPythonのバージョン指定ができてるのか確認してみました。
ちゃんとpip3が利用されてます。
トレーニング結果の確認
ドキュメントでは
fish、bash共通
> tensorboard --logdir=$OUTPUT_PATH
で、tensorboardを利用して結果確認できるとあったのですが、うまくブラウジングすることができなかったので、出力されたファイルを一旦ローカルにダウンロードして確認します。
fish、bash共通
> mkdir output_cloud
> gsutil cp -r $OUTPUT_PATH output_cloud
(略)
Operation completed over 14 objects/35.6 MiB.

> tensorboard --logdir=output_cloud
TensorBoard 1.9.0 at http://localhost:6006 (Press CTRL+C to quit)
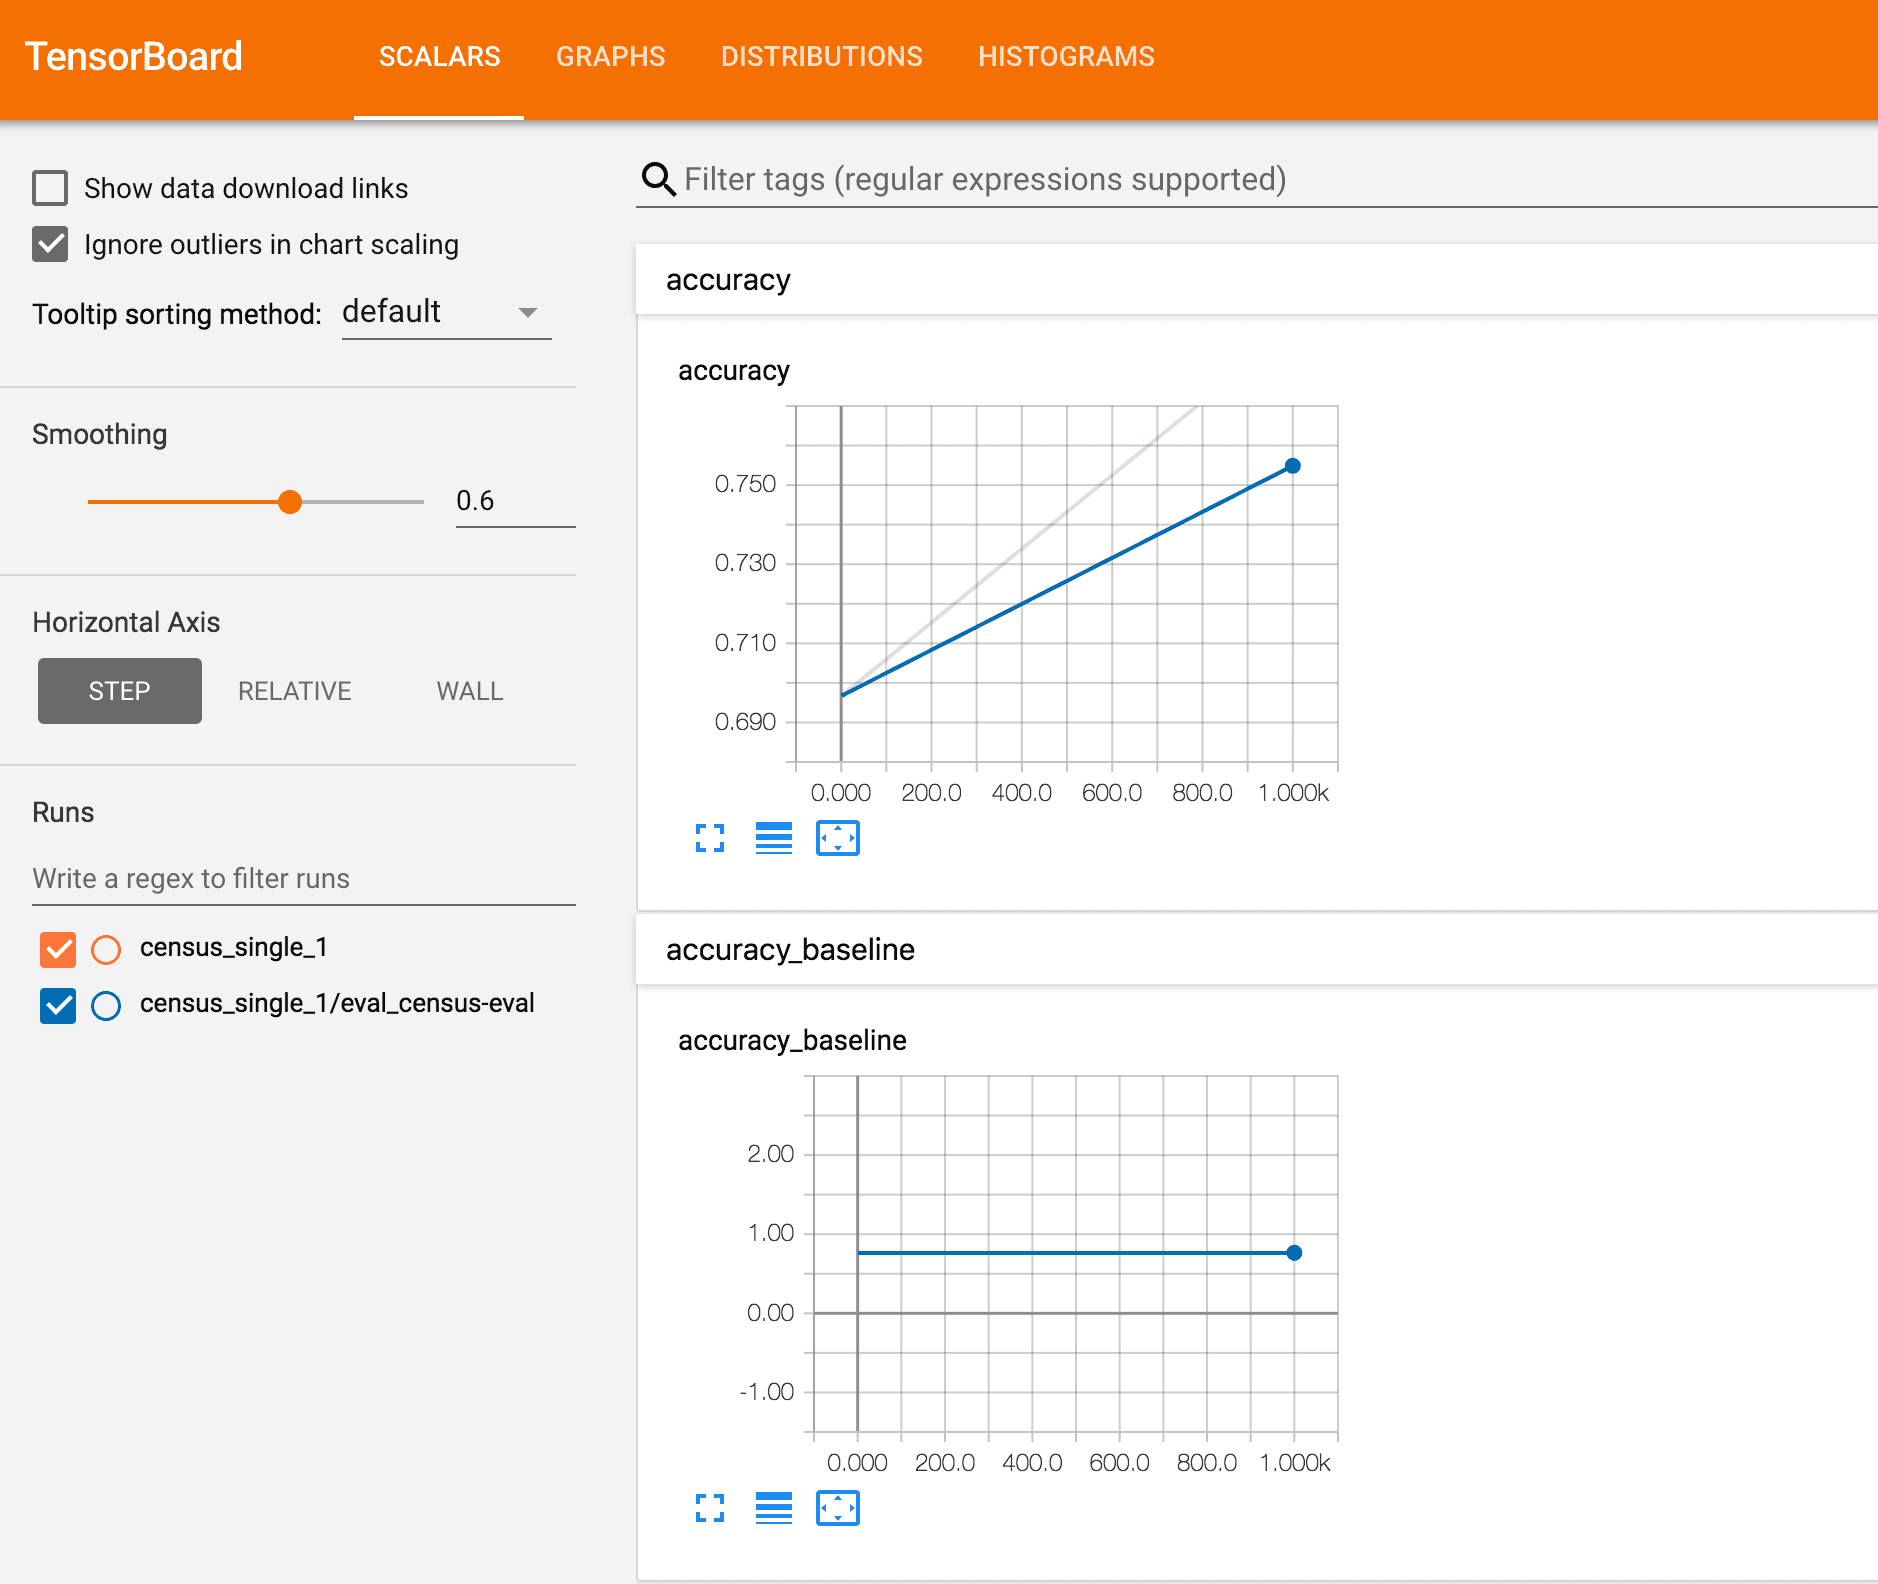

実行できていそうです。
トレーニング結果の削除
出力されたファイルなどはStorageに保存されていますので、そのままだと課金対象となります。
必要なければ削除しましょう。
fish、bash共通
> gsutil rm -r $OUTPUT_PATH
> gsutil rm -r gs://$BUCKET_NAME/data
> gsutil ls gs://$BUCKET_NAME
とりあえず、サンプル実行してみただけですが、なんとなく流れがつかめました。
それでは、良きCloud Machine Learning Engine検証ライフをw
参考
【Google Cloud Platform】初めてやるクラウドでの機械学習①
https://qiita.com/yujiG/items/36a31d0795b2c2709476
TensorFlow 用 Cloud ML Engine
https://cloud.google.com/ml-engine/docs/tensorflow/getting-started-training-prediction?hl=ja
Google Cloud SDK ドキュメント
https://cloud.google.com/sdk/docs/?hl=ja
認証の開始
https://cloud.google.com/docs/authentication/getting-started
Cloud ML Engine リージョン
https://cloud.google.com/ml-engine/docs/regions?hl=ja
Cloud ML Engine のバージョニング
https://cloud.google.com/ml-engine/docs/tensorflow/versioning?hl=ja#set-python-version-training