
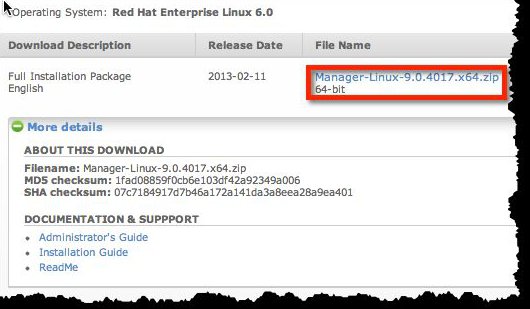
これまで、Windows環境でしかインストールできなかったDeep Security Managerですが、
下記のように9.0からはLinux(RHEL6)にもインストールできるようになりました。
そこで、CentOS6でも動きそうなので、インストールしてみました。
○Deep Security Managerのダウンロードと展開
# curl -OL http://www.trendmicro.com/ftp/products/deepsecurity/Manager-Linux-9.0.4017.x64.zip
...
# unzip Manager-Linux-9.0.4017.x64.zip
Archive:  Manager-Linux-9.0.4017.x64.zip
 inflating: Manager-Linux-9.0.4017.x64.sh
 inflating: Relay-RedHat_EL5-9.0.0-883.x86_64.rpm
 inflating: Relay-RedHat_EL6-9.0.0-883.x86_64.rpm
# chmod 755 Manager-Linux-9.0.4017.x64.sh
○プロパティファイルの用意(インストール時に利用)
# cat dsm.properties
CredentialsScreen.Administrator.Username=testuser
CredentialsScreen.Administrator.Password=TestPass!23
今回は組み込みデータベースを利用するため、上記程度のプロパティになります。
○Deep Security Managerのインストール
# ./Manager-Linux-9.0.4017.x64.sh -q -console -varfile ./dsm.properties
Unpacking JRE ...
Preparing JRE ...
Starting Installer ...
Stopping Trend Micro Deep Security Manager Service...
Feb 27, 2013 8:00:59 PM java.util.prefs.FileSystemPreferences$2 run
INFO: Created user preferences directory.
Feb 27, 2013 8:00:59 PM java.util.prefs.FileSystemPreferences$3 run
INFO: Created system preferences directory in java.home.
Detecting previous versions of Trend Micro Deep Security Manager...
Upgrade Verification Screen settings accepted...
[WARNING] Deep Security Manager's embedded database is intended for trial and demonstration purposes only.  It is NOT supported for use in production environments.
Database Screen settings accepted...
License Screen settings accepted...
Address And Ports Screen settings accepted...
Credentials Screen settings accepted...
Security Update Screen settings accepted...
Smart Protection Network Screen settings accepted...
All settings accepted, ready to execute...
Extracting files...
Downloading ...
Extracting files...
Setting Up...
Connecting to the Database...
Creating the Database Schema...
Creating testuser Account...
Recording Settings...
Creating Temporary Directory...
Installing Reports...
Installing Modules and Plug-ins...
Creating Help System...
Validating and Applying Activation Codes...
Configure Localizable Settings...
Setting Default Password Policy...
Creating Scheduled Tasks...
Creating Asset Importance Entries...
Creating Auditor Role...
Optimizing...
Importing Software Packages...
Importing Software Package: Relay-RedHat_EL5-9.0.0-883.x86_64.rpm
Importing Software Package: Relay-RedHat_EL6-9.0.0-883.x86_64.rpm
Configuring Relay For Install...
Importing Performance Profiles...
Recording Installation...
Clearing Sessions...
Creating Properties File...
Creating Shortcut...
Configuring SSL...
Configuring Service...
Configuring Java Security...
Configuring Java Logging...
Cleaning Up...
Starting Deep Security Manager...
Finishing installation...
○Webインターフェースにログイン
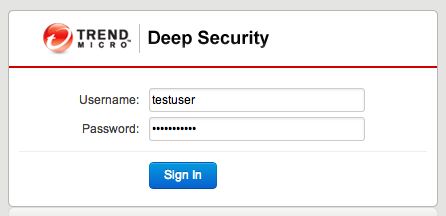
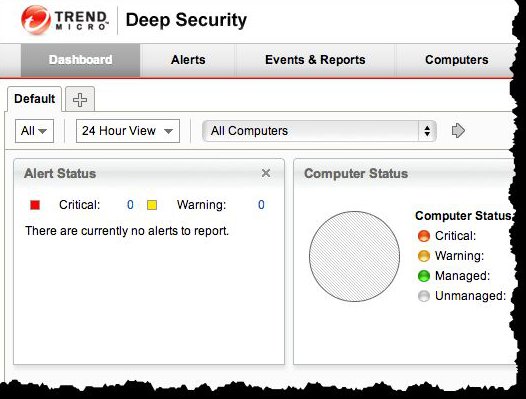
https://xxx.xxx.xxx.xxx:4119/にアクセスすれば上記のようにログインできます。