
今回はAWS上でMySQL Clusterのテストを行いました。
過去記事「CentOS(yum)でMySQL Cluster」にあるように、以前(CentOS5)はyumで
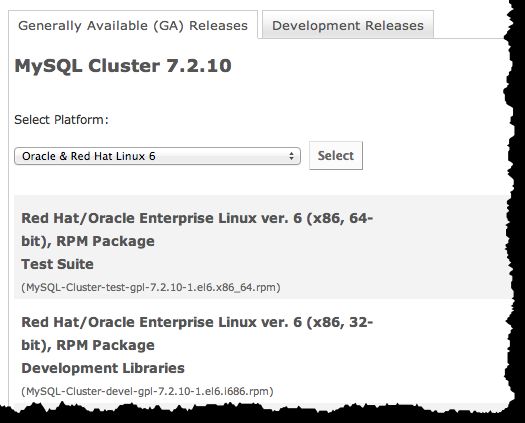
インストールできたのですが、CentOS6ではリポジトリからすぐに見つからなかったため、
下記のRPMでインストールしました。
○依存パッケージの準備とインストールと確認
# yum -y install libaio
# rpm -Uvh http://cdn.mysql.com/Downloads/MySQL-Cluster-7.2/MySQL-Cluster-client-gpl-7.2.10-1.el6.x86_64.rpm
# rpm -Uvh http://cdn.mysql.com/Downloads/MySQL-Cluster-7.2/MySQL-Cluster-server-gpl-7.2.10-1.el6.x86_64.rpm
...
Alternatively you can run:
/usr/bin/mysql_secure_installation

which will also give you the option of removing the test
databases and anonymous user created by default.  This is
strongly recommended for production servers.
...
# mysqld --version
mysqld  Ver 5.5.29-ndb-7.2.10-cluster-gpl for Linux on x86_64 (MySQL Cluster Community Server (GPL))
※環境により、その他にも必要な依存パッケージはあるかもしれません。
※近頃はmysql_secure_installationというものがあるとのことなので、近いうちに試してみようと思います。
○mysql_secure_installationの実行
# service mysql start
Starting MySQL SUCCESS!
# /usr/bin/mysql_secure_installation

NOTE: RUNNING ALL PARTS OF THIS SCRIPT IS RECOMMENDED FOR ALL MySQL
      SERVERS IN PRODUCTION USE!  PLEASE READ EACH STEP CAREFULLY!

In order to log into MySQL to secure it, we'll need the current
password for the root user.  If you've just installed MySQL, and
you haven't set the root password yet, the password will be blank,
so you should just press enter here.

Enter current password for root (enter for none):
OK, successfully used password, moving on...

Setting the root password ensures that nobody can log into the MySQL
root user without the proper authorisation.

Set root password? [Y/n]
New password:
Re-enter new password:
Password updated successfully!
Reloading privilege tables..
 ... Success!

By default, a MySQL installation has an anonymous user, allowing anyone
to log into MySQL without having to have a user account created for
them.  This is intended only for testing, and to make the installation
go a bit smoother.  You should remove them before moving into a
production environment.

Remove anonymous users? [Y/n]
 ... Success!

Normally, root should only be allowed to connect from 'localhost'.  This
ensures that someone cannot guess at the root password from the network.

Disallow root login remotely? [Y/n]
 ... Success!

By default, MySQL comes with a database named 'test' that anyone can
access.  This is also intended only for testing, and should be removed
before moving into a production environment.

Remove test database and access to it? [Y/n]
 - Dropping test database...
 ... Success!
 - Removing privileges on test database...
 ... Success!

Reloading the privilege tables will ensure that all changes made so far
will take effect immediately.

Reload privilege tables now? [Y/n]
 ... Success!

Cleaning up...

All done!  If you've completed all of the above steps, your MySQL
installation should now be secure.

Thanks for using MySQL!
※下記が実施されます。
- rootパスワードの設定
- リモートからのrootログインの禁止
- testデータベースの削除
○MySQLのスタートと確認
# mysql -p
Enter password:
Welcome to the MySQL monitor.  Commands end with ; or g.
Your MySQL connection id is 2
Server version: 5.5.29-ndb-7.2.10-cluster-gpl MySQL Cluster Community Server (GPL)

Copyright (c) 2000, 2012, Oracle and/or its affiliates. All rights reserved.

Oracle is a registered trademark of Oracle Corporation and/or its
affiliates. Other names may be trademarks of their respective
owners.

Type 'help;' or 'h' for help. Type 'c' to clear the current input statement.

mysql> show databases;
+--------------------+
| Database           |
+--------------------+
| information_schema |
| mysql              |
| performance_schema |
+--------------------+
3 rows in set (0.00 sec)
以上でインストール完了です。