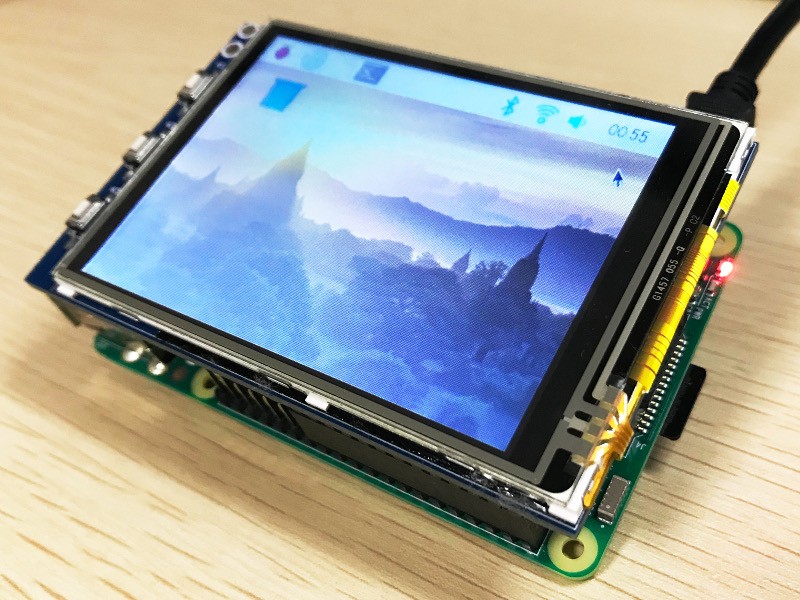
2016年、RaspbianがまだJessieだった頃に同じWaveshare Electronicsの3.2インチLCDをRaspberry Pi 3に接続する手順を書いたが、3年経ち久しぶりに使ってみたところ手順が非常に簡単になっていたので改めて記す。

Waveshare Raspberry Pi LCD Display Module 3.2inch 320*240 TFT Resistive Touch Screen Panel SPI Interface for Any Version of Rapsberry-pi [並行輸入品] AMAZON JP
Raspberry Pi 3 Model B V1.2 (日本製) 国内正規代理店品 AMAZON JP
物理的な接続は2016年の時と変わらないので以下の資料に譲る。
このLCDをRaspberry Piで使えるようにする手順は同社の製品ページで公開されているので細かい設定などは以下を参照してほしい。
LCDを物理的に接続しただけではOSを起動しても画面が真っ白なままなのは以前と変わらないが、ドライバのインストールと(タッチセンサーの設定を行わず)ひとまずLCDの出力ができればいいのであれば以下を実行するだけでよい。(この設定はHDMIディスプレイを接続するかSSHログインにて行う)
$ git clone https://github.com/waveshare/LCD-show.git
$ cd LCD-show
$ ./LCD32-show
これで必要なパッケージがインストールされ、LCD出力が有効になる。設定ファイルも作成されるので微調整はこのファイルを編集することで行う。
$ ls -l /usr/share/X11/xorg.conf.d
-rw-r--r-- 1 root root 1099  8月 23  2018 10-evdev.conf
-rw-r--r-- 1 root root 1350  6月  5 21:49 10-quirks.conf
-rw-r--r-- 1 root root 1429  3月 31  2019 40-libinput.conf
-rw-r--r-- 1 root root 1099 10月 23 00:39 45-evdev.conf
-rwxr-xr-x 1 root root  358 10月 23 00:42 99-calibration.conf
-rw-r--r-- 1 root root  647 10月 23 00:42 99-fbturbo.conf
尚、元のHDMI出力に戻したい場合は従来通りLCD32-hdmiを実行する。
$ ./LCD32-hdmi
参考サイト
情報
- Raspberry Pi公式サイト
- Raspberry Pipedia)
- Raspbian技術情報(Make: japan)
- Raspberry Pi関連情報 (スイッチサイエンス マガジン)
- Raspbian関連情報 (DevelopersIO by Classmethod)
- Raspberry Pi関連情報 (isaax)
- IT女子のラズベリーパイ入門奮闘記 (Device Plus)
- RaspberryPi電子工作入門 (ツール・ラボ)
- ラズパイダ
- RaspberryPi技術情報 (Qiita)
- Raspbian技術情報 (Qiita)


