はじめに
プロジェクトにてセキュリティ製品導入に伴うパケットキャプチャを行う為に、CloudFrontとEC2間にてHTTP/443の通信を行う必要が有りました。
プロジェクトではNginxを使っているので検証環境のEC2にてNginxのポートをHTTP/443で受ける設定をしましたが、Nginxのポート設定の手順が見つからなくて苦労しました。
忘備録として、設定した内容を本記事に記載しました。
Nginxのポート設定を実施し、テストページが表示されるところまで実施します。
またプロジェクトではEC2のOSはUbuntu 22.04.4 LTSを使っていたので、今回はUbuntu 22.04.4 LTSで記載致します。
設定作業
設定内容確認
EC2にログインして、/etc/nginx/sites-available/defaultの内容を確認します。
$ sudo su - cat /etc/nginx/sites-available/default

##
# You should look at the following URL's in order to grasp a solid understanding
# of Nginx configuration files in order to fully unleash the power of Nginx.
# https://www.nginx.com/resources/wiki/start/
# https://www.nginx.com/resources/wiki/start/topics/tutorials/config_pitfalls/
# https://wiki.debian.org/Nginx/DirectoryStructure
#
# In most cases, administrators will remove this file from sites-enabled/ and
# leave it as reference inside of sites-available where it will continue to be
# updated by the nginx packaging team.
#
# This file will automatically load configuration files provided by other
# applications, such as Drupal or WordPress. These applications will be made
# available underneath a path with that package name, such as /drupal8.
#
# Please see /usr/share/doc/nginx-doc/examples/ for more detailed examples.
##

# Default server configuration
#
server {
        listen 80 default_server;
        listen [::]:80 default_server;

        # SSL configuration
        #
        # listen 443 ssl default_server;
        # listen [::]:443 ssl default_server;
        #
        # Note: You should disable gzip for SSL traffic.
        # See: https://bugs.debian.org/773332
        #
        # Read up on ssl_ciphers to ensure a secure configuration.
        # See: https://bugs.debian.org/765782
        #
        # Self signed certs generated by the ssl-cert package
        # Don't use them in a production server!
        #
        # include snippets/snakeoil.conf;

        root /var/www/html;

        # Add index.php to the list if you are using PHP
        index index.html index.htm index.nginx-debian.html;

        server_name _;

        location / {
                # First attempt to serve request as file, then
                # as directory, then fall back to displaying a 404.
                try_files $uri $uri/ =404;
        }

        # pass PHP scripts to FastCGI server
        #
        #location ~ \.php$ {
        #       include snippets/fastcgi-php.conf;
        #
        #       # With php-fpm (or other unix sockets):
        #       fastcgi_pass unix:/run/php/php7.4-fpm.sock;
        #       # With php-cgi (or other tcp sockets):
        #       fastcgi_pass 127.0.0.1:9000;
        #}

        # deny access to .htaccess files, if Apache's document root
        # concurs with nginx's one
        #
        #location ~ /\.ht {
        #       deny all;
        #}
}


# Virtual Host configuration for example.com
#
# You can move that to a different file under sites-available/ and symlink that
# to sites-enabled/ to enable it.
#
#server {
#       listen 80;
#       listen [::]:80;
#
#       server_name example.com;
#
#       root /var/www/example.com;
#       index index.html;
#
#       location / {
#               try_files $uri $uri/ =404;
#       }
#}
listen 80 default_server;とlisten [::]:80 default_server;によりHTTP/80でしか受信できない状態です。
設定変更
listen 80 default_server;とlisten [::]:80 default_server;をコメントアウトして、/etc/nginx/sites-available/defaultを以下の内容に設定します。
※/etc/nginx/sites-available/defaultの内容が多いので必要な部分のみ記載します。
$ sudo su - vi /etc/nginx/sites-available/default

server {
        # listen 80 default_server;
        # listen [::]:80 default_server;
        listen 443 default_server;
        listen [::]:443 default_server;
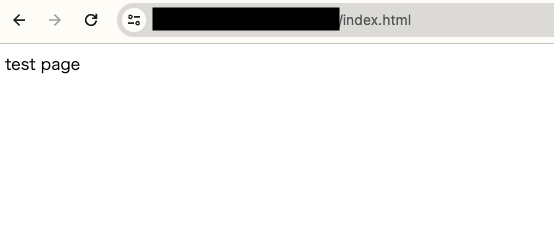
テストページを作成し、ブラウザで表示されていることを確認して完了です。
$ sudo su - vi /var/www/html/index.html
test page
最後に
ApacheやTomcatは設定することが多いですが、Nginxは設定することと情報が少なくて時間がかかりました。
こちらの記事を参考にしてもらえると幸いです。