
1. はじめに
デザイン事業部の長谷です。
今回は、「天気検索アプリの作成を通し、ReactやAPIへの理解を深めよう」の後編になります!
前編では、Viteを使用した開発環境の準備〜OpenWeatherMapのAPIキー取得、Reactの組み込みHooksを使用したデータ取得の実装について学びました。
先に前編をご覧いただいた方が、後編の内容がスムーズに入るかと思うので
まだご覧になられていない方は、前編もご覧下さい!
後編では、取得した天気データを表示するためのUIをMaterial-UI(MUI)とBulmaを使用し、簡単に作成していきます。
また今回アプリを作成しているのは、あくまでReactやAPIへの理解を深めるためになります。従って、「素早く・簡単」に作成するUIになりますので、ご容赦ください。
2. Material-UI(MUI)の導入
Material-UI、通称MUIは、Reactのためのデザインコンポーネントライブラリです。
複雑なUIを実現する場合には、難点が出てくるかもしれませんが、今回は「素早く・簡単」にが最重要ですので、その点MUIは優れていると思います。
以下が今回の手順になります。
1.MUIをインストールします。
(今回はMUIのアイコンのみ使用する為、この手順は飛ばしても、実装はできると思います)
npm install @mui/material @emotion/react @emotion/styled
2.MUIのアイコンをインストールします。
npm install @mui/icons-material
3.MUIのコンポーネントを使用し、天気アイコンを表示します。
App.jsxの中に以下のように、記述します。
import React, { useState, useEffect } from 'react';
// 以下文で使用するMUIのアイコンをインポート
import { Search, WbSunny, WbCloudy, Opacity, ThunderstormTwoTone, GrainTwoTone } from '@mui/icons-material';

const WeatherApp = () => {
  // 状態管理用のuseState
  const [city, setCity] = useState('');

  // 都市名が変更された際に天気データを取得するためのuseEffect
  useEffect(() => {});

  // 天気状態に応じたアイコンを返す関数
  const getWeatherIcon = (weatherCondition) => {
    const iconMap = {
      Clear: <WbSunny fontSize="large" />,
      Clouds: <WbCloudy fontSize="large" />,
      Rain: <Opacity fontSize="large" />,
      Drizzle: <GrainTwoTone fontSize="large" />,
      Thunderstorm: <ThunderstormTwoTone fontSize="large" />,
    };
    return iconMap[weatherCondition] || null;
  };


  return (
    <div className="container">
      {/* 検索バー */}
      <div className="is-flex is-justify-content-center is-align-items-center mb-2">
        <Search fontSize="medium" />
        <h1 className="title is-6 pr-2">地域検索</h1>
      </div>
      {/* 天気情報 */}
      {weatherData && (
        <div className="box">
          <div>
            {getWeatherIcon(weatherData.weather[0].main)}
            <p className="heading is-size-7">{weatherData.weather[0].description}</p>
          </div>
        </div>
      )}
    </div>
  );
};

export default WeatherApp;
上記のコードでは、weatherConditionに応じて、適切な天気アイコンを表示しています。
3. Bulmaの導入
MUIのアイコンを無事使用できるようになったので、次はスタイルを当てていきます。
今回は「素早く・簡単」を求めるため、Bulmaを使用していきます。
ここで、Bulmaについて軽く説明します。
Bulmaとは、シンプルで使いやすいCSSフレームワークです。他の同種で例を挙げると、BootstrapやTailwind CSSがあります。これらのCSSフレームワークは基本的に、「読み込み・定義されているクラス名を付与」という一連の手段をとることで、クラス名に紐づいているスタイルを付与できます。
それぞれに特徴があり、Reactとの相性を考えると、実務で使用するのであれば、ReactとTailwind CSSの組み合わせがベストな気がします。しかし、今回は見栄えが悪くなりすぎない最低限のUIを実装できればいいので、手軽に利用できるBulmaを使用して、スタイルを付与していきます。
以下が具体的な手順です。
1.Bulmaをインストールします。
npm install bulma
2.Bulmaのスタイルシートをインポートします。
App.jsxの中に、以下の文を記述します。
import 'bulma/css/bulma.min.css';
3.Bulmaのクラスを使用し、天気情報を表示するコンポーネントを作成する。
App.jsxの中に、以下のように記述します。
import React from 'react';
import 'bulma/css/bulma.min.css';

const WeatherApp = () => {
 return (
   <div className="container">
      {/* 検索バー */}
      <div className="is-flex is-justify-content-center is-align-items-center mb-2">
        <Search fontSize="medium" />
        <h1 className="title is-6 pr-2">地域検索</h1>
      </div>
      <div className="field">
        <div className="control">
          <input
            className="input"
            type="text"
            placeholder="地域を入力"
            value={city}
            onChange={(e) => setCity(e.target.value)}
          />
        </div>
      </div>
      {/* エラーメッセージ */}
      {error && <p className="help is-danger">{error}</p>}
      {/* 天気情報 */}
      {weatherData && (
        <div className="box">
          <h2 className="subtitle is-5 has-text-centered mb-2">{weatherData.name}</h2>
          <p className="is-size-6 has-text-centered mb-3">{formatDateTime(weatherData.forecast.list[0].dt_txt)}</p>
          <div className="level is-mobile mb-5">
            <div className="level-item has-text-centered">
              <div>
                {getWeatherIcon(weatherData.weather[0].main)}
                <p className="heading is-size-7">{weatherData.weather[0].description}</p>
              </div>
            </div>
            <div className="level-item has-text-centered">
              <p className="title is-4">{weatherData.main.temp}<span className="is-size-6">°C</span></p>
            </div>
          </div>
          <div className="level is-mobile">
            <div className="level-item has-text-centered">
              <div>
                <p className="title is-6">
                  <span className="has-text-danger">{weatherData.forecast.list[0].main.temp_max}°C</span> / <span className="has-text-info">{weatherData.forecast.list[0].main.temp_min}°C</span>
                </p>
              </div>
            </div>
            <div className="level-item has-text-centered">
              <div>
                <p className="title is-6 is-flex is-align-items-center">
                  <Opacity fontSize="small" /> {weatherData.forecast.list[0].pop * 100}%
                </p>
              </div>
            </div>
          </div>
        </div>
      )}
    </div>
 );
}

export default WeatherInfo;
上記のコードでは、Bulmaのクラスを使用して、都市名、天気アイコン、気温、天気の説明を表示しています。
4. コンポーネントの実装
最後に、検索バーと天気情報を表示するコンポーネントを組み合わせて、アプリを完成させます。
以下が最終的なApp.jsxのコードになります。
import React, { useState, useEffect } from 'react';
import axios from 'axios';
import { Search, WbSunny, WbCloudy, Opacity, ThunderstormTwoTone, GrainTwoTone } from '@mui/icons-material';
import 'bulma/css/bulma.min.css';

const API_KEY = 'MY_API_KEY';
const BASE_URL = 'https://api.openweathermap.org/data/2.5/weather';
const FORECAST_URL = 'https://api.openweathermap.org/data/2.5/forecast';

const WeatherApp = () => {
  // 状態管理用のuseState
  const [city, setCity] = useState('');
  const [weatherData, setWeatherData] = useState(null);
  const [error, setError] = useState(null);

  // 都市名が変更された際に天気データを取得するためのuseEffect
  useEffect(() => {
    const fetchData = async () => {
      // 都市名が空の場合は処理を終了
      if (!city) return;

      try {
        // 現在の天気データと予報データを並行して取得
        const [weatherResponse, forecastResponse] = await Promise.all([
          axios.get(BASE_URL, { params: { q: city, appid: API_KEY, units: 'metric', lang: 'ja' } }),
          axios.get(FORECAST_URL, { params: { q: city, appid: API_KEY, units: 'metric', lang: 'ja' } }),
        ]);

        // 取得したデータを組み合わせてweatherDataに設定
        setWeatherData({ ...weatherResponse.data, forecast: forecastResponse.data });
        setError(null);
      } catch (error) {
        // エラーが発生した場合はweatherDataをnullに設定し、エラーメッセージを表示
        setWeatherData(null);
        setError('都市名を正しく入力して下さい。');
      }
    };

    fetchData();
  }, [city]);

  // 天気状態に応じたアイコンを返す関数
  const getWeatherIcon = (weatherCondition) => {
    const iconMap = {
      Clear: <WbSunny fontSize="large" />,
      Clouds: <WbCloudy fontSize="large" />,
      Rain: <Opacity fontSize="large" />,
      Drizzle: <GrainTwoTone fontSize="large" />,
      Thunderstorm: <ThunderstormTwoTone fontSize="large" />,
    };
    return iconMap[weatherCondition] || null;
  };

  // 日時データを日本語表記にフォーマットする関数
  const formatDateTime = (dateTimeString) => {
    return new Date(dateTimeString).toLocaleString('ja-JP', { month: 'long', day: 'numeric' });
  };

  return (
    <div className="container">
      {/* 検索バー */}
      <div className="is-flex is-justify-content-center is-align-items-center mb-2">
        <Search fontSize="medium" />
        <h1 className="title is-6 pr-2">地域検索</h1>
      </div>
      <div className="field">
        <div className="control">
          <input
            className="input"
            type="text"
            placeholder="地域を入力"
            value={city}
            onChange={(e) => setCity(e.target.value)}
          />
        </div>
      </div>
      {/* エラーメッセージ */}
      {error && <p className="help is-danger">{error}</p>}
      {/* 天気情報 */}
      {weatherData && (
        <div className="box">
          <h2 className="subtitle is-5 has-text-centered mb-2">{weatherData.name}</h2>
          <p className="is-size-6 has-text-centered mb-3">{formatDateTime(weatherData.forecast.list[0].dt_txt)}</p>
          <div className="level is-mobile mb-5">
            <div className="level-item has-text-centered">
              <div>
                {getWeatherIcon(weatherData.weather[0].main)}
                <p className="heading is-size-7">{weatherData.weather[0].description}</p>
              </div>
            </div>
            <div className="level-item has-text-centered">
              <p className="title is-4">{weatherData.main.temp}<span className="is-size-6">°C</span></p>
            </div>
          </div>
          <div className="level is-mobile">
            <div className="level-item has-text-centered">
              <div>
                <p className="title is-6">
                  <span className="has-text-danger">{weatherData.forecast.list[0].main.temp_max}°C</span> / <span className="has-text-info">{weatherData.forecast.list[0].main.temp_min}°C</span>
                </p>
              </div>
            </div>
            <div className="level-item has-text-centered">
              <div>
                <p className="title is-6 is-flex is-align-items-center">
                  <Opacity fontSize="small" /> {weatherData.forecast.list[0].pop * 100}%
                </p>
              </div>
            </div>
          </div>
        </div>
      )}
    </div>
  );
};

export default WeatherApp;
上記のコードでは、検索バーと天気情報を表示するコンポーネントを組み合わせています。handleCityChange関数で、入力された都市名をcityの状態に設定し、useEffect内でデータ取得を行っています。
また、App.jsx内に付与したBulmaのスタイルだけだと要素が左右中央に配置されないと思うので、既存のindex.cssファイル内に申し訳程度で以下コードを書き足していただければ、完成です。
index.cssの中にも、以下スタイルを追記します。
/* 〜既存のコード〜 */

#root {
  margin-inline: auto; /* 「margin: 0 auto」でもOK */
}
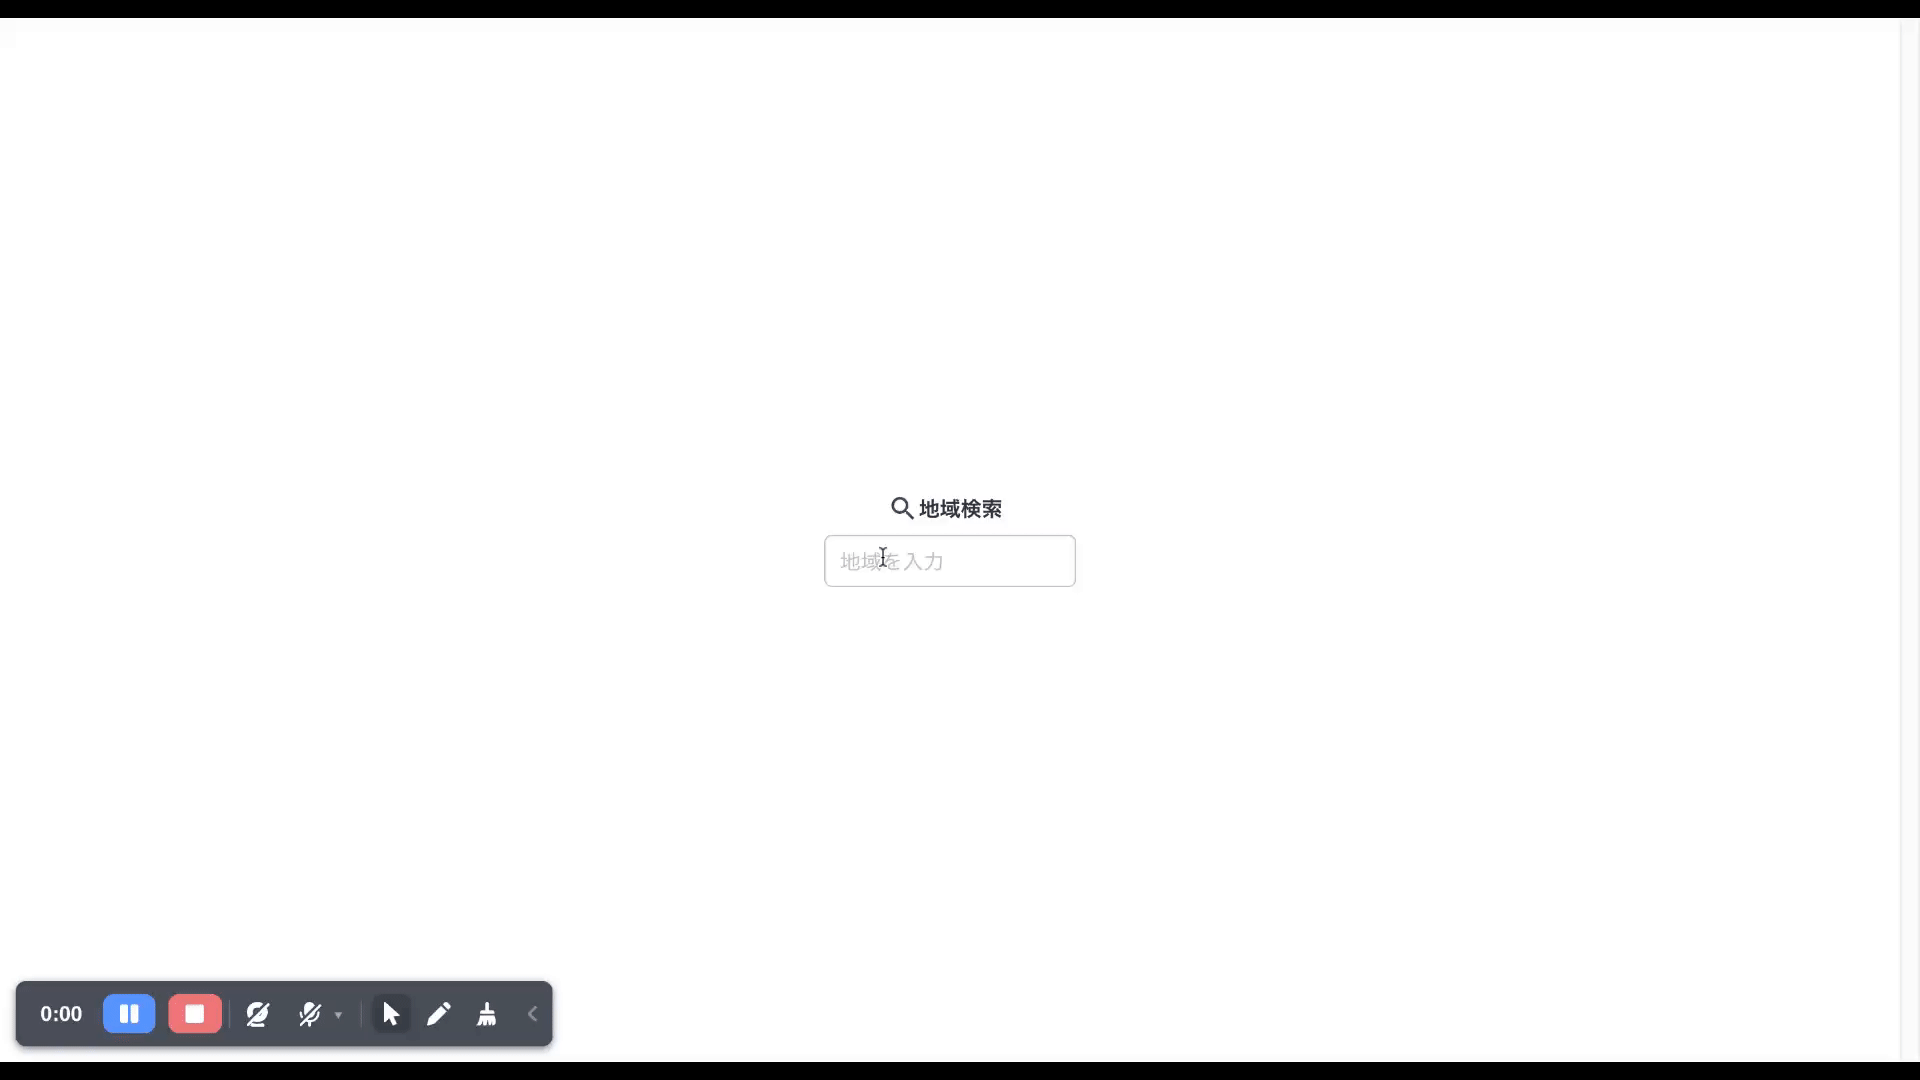
5. アプリの完成
これで、簡単な天気検索アプリが完成しました。アプリを起動すると、以下のような画面が表示されます。
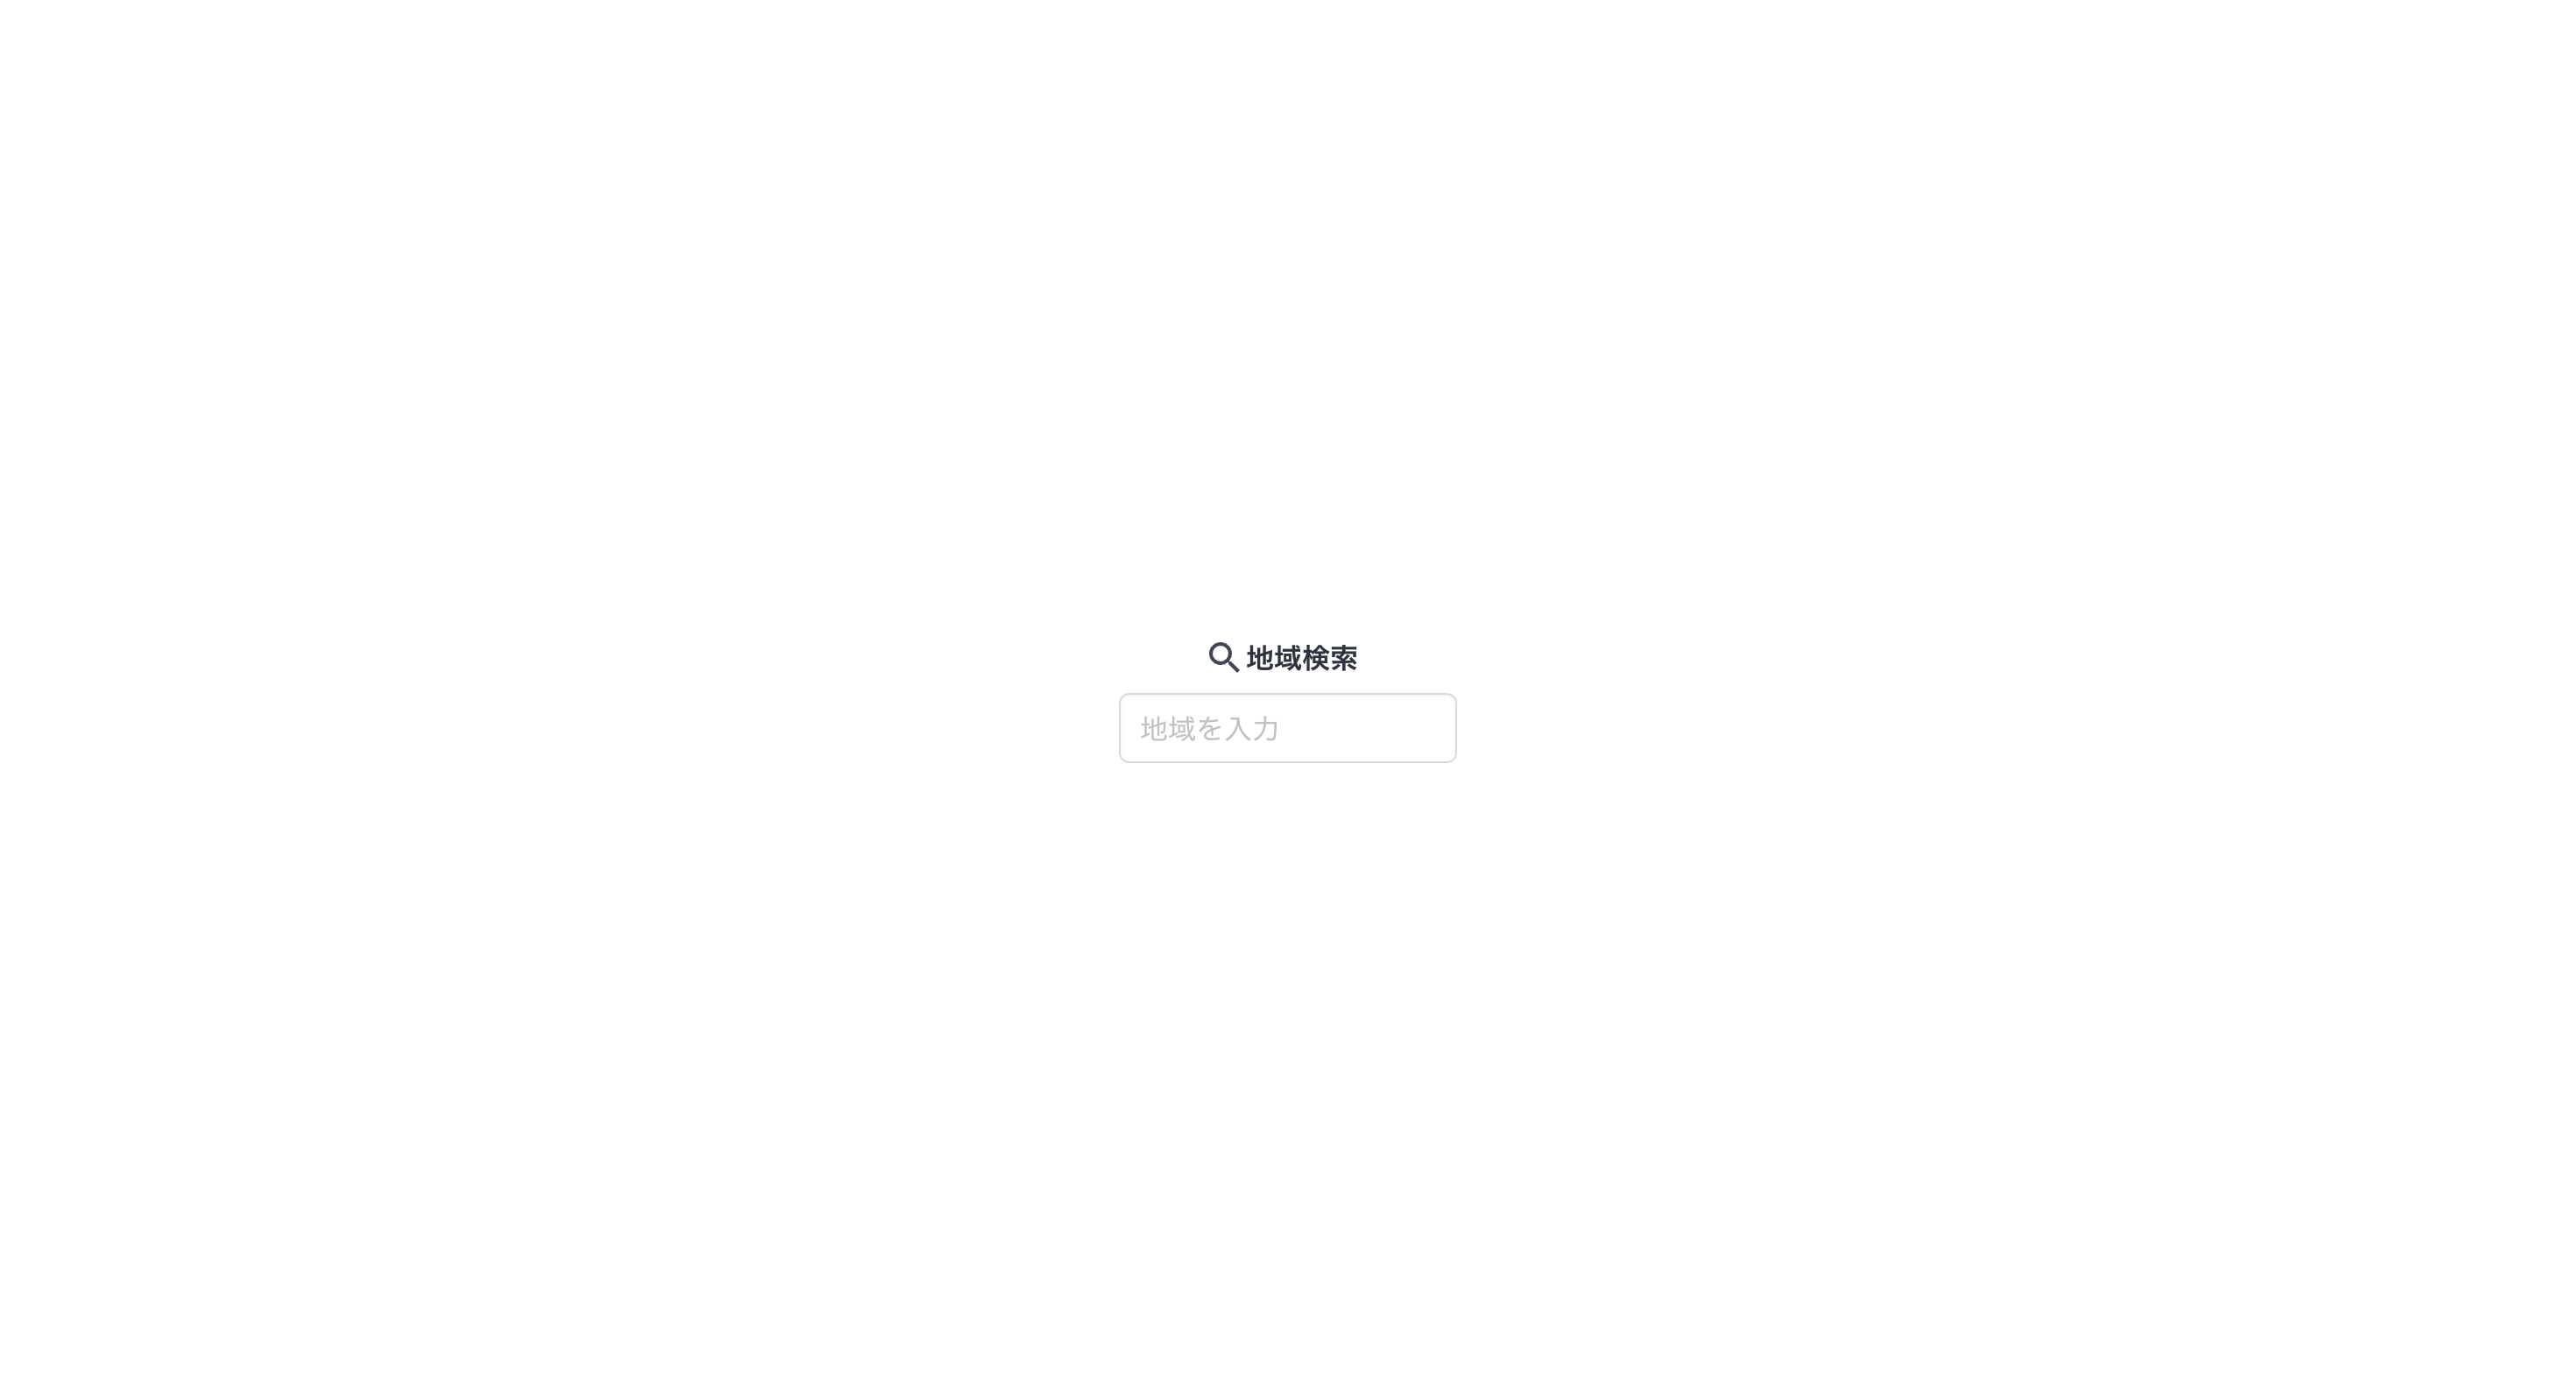
実際の使用イメージは以下になります。
6. まとめ
前後編を含め、本記事ではReactとOpenWeatherMap APIを使用して、簡単な天気検索アプリを作成する方法を紹介しました。いかがでしたでしょうか?
個人的にViteを使用した開発環境の準備、APIキーの取得、データ取得の実装、MUIとBulmaを使用したUIデザインについて学ぶことができました。
今後も、React・APIを使用して、ウェブアプリケーション開発の理解を深めていこうと思います。
本記事が誰かの役に立てば幸いです。
読んでいただきありがとうございました!